Sunday, August 28, 2011

Doctor, Doctor! Gimme the News...

I love the Doctor [Insert hysterical laughing at those that just just said "Doctor who?"].Everything about the show just makes me feel warm and sparkly inside. There's comedy, adventure, romance, and space and time travel. What else could a girl ask for? It also helps that the Doctor's also become rather handsome in his latest regenerations, but that's just icing on the cake. I'm perfectly happy to watch adventures of the doctor during his white haired I'm-an-old-professor days, too.

But to celebrate the premiere of series 6, part 2, I'm going to share with you some of my favorite Doctor Who and Doctor Who inspired accessories! Click on the photos to buy them yourself!

1) Red Wedge Trainers

In honor of the Tenth Doctor (who frequently sported red and cream Chucks) I picked up these adorable, girly red wedges. When paired with pants (especially suit pants) they give that same playful attitude of the Tenth Doctor. Why not just go with ACTUAL red Chucks, you ask? Well, I'm short, so if I CAN have the comfort and casual air of a sneaker with the height of a heel, I'm going for it!


2) TARDIS coffee mug (with lid!)


Thank you, Mommy for this awesome out-of-the-TARDIS-blue gift. It holds a large amount of coffee (the largest setting on my Keurig) which means I can be as wired as any version of the Doctor. Plus, the lid means that I can keep my coffee warmer longer!


3) Sonic Screwdriver (version 9/10) Pen

I love all versions of the Doctor, but Nine/Ten's sonic screwdriver is my favorite. The Anglophenia Blog said it best: "a very thin blue torch with dreams of becoming a lightsabre when it grows up". I think that sums up my fascination with this particular version. A birthday gift from my Mum, this is actually a toy sold in the UK and has both a black pen tip and a UV ink tip (with the sonic screwdriver emitting a UV light when the buttons are pressed). I've super glued the black ink tip onto it so that I can use this pen for everyday use. It permanently resides in my purse, ready to be whipped out in the case of a handwriting emergency...or to play with when I'm bored. PS: It's quite effective at jarring unsuspecting students with its "bzzzz" noise.


4) "The Angels Have the Phone Box" T-Shirt

Larry Nightingale, you are a genius. One of my absolute favorite episodes and it's iconic line is that a te-shirt was made out of the Doctor's words! I wonder if I can get away with wearing this to work....


5) TARDIS Key Necklace

A Sylvester McCoy era key. It bears the seal of Rasillon (the power hungry bastard) and has a kind of Celtic look to it. It works great as a piece of everyday jewelry that is a subtle hint to my nerdage. I usually get lots of compliments on it, but no one has actually recognized it yet.


6) TARDIS Cameo Pendant

I made this out of a broken cameo from my Mom (blog entry here). It's also a subtle jewelry statement, but not nearly as deep in nerdage as my TARDIS key. This is a nice chunky pendant that looks good on a long chain.


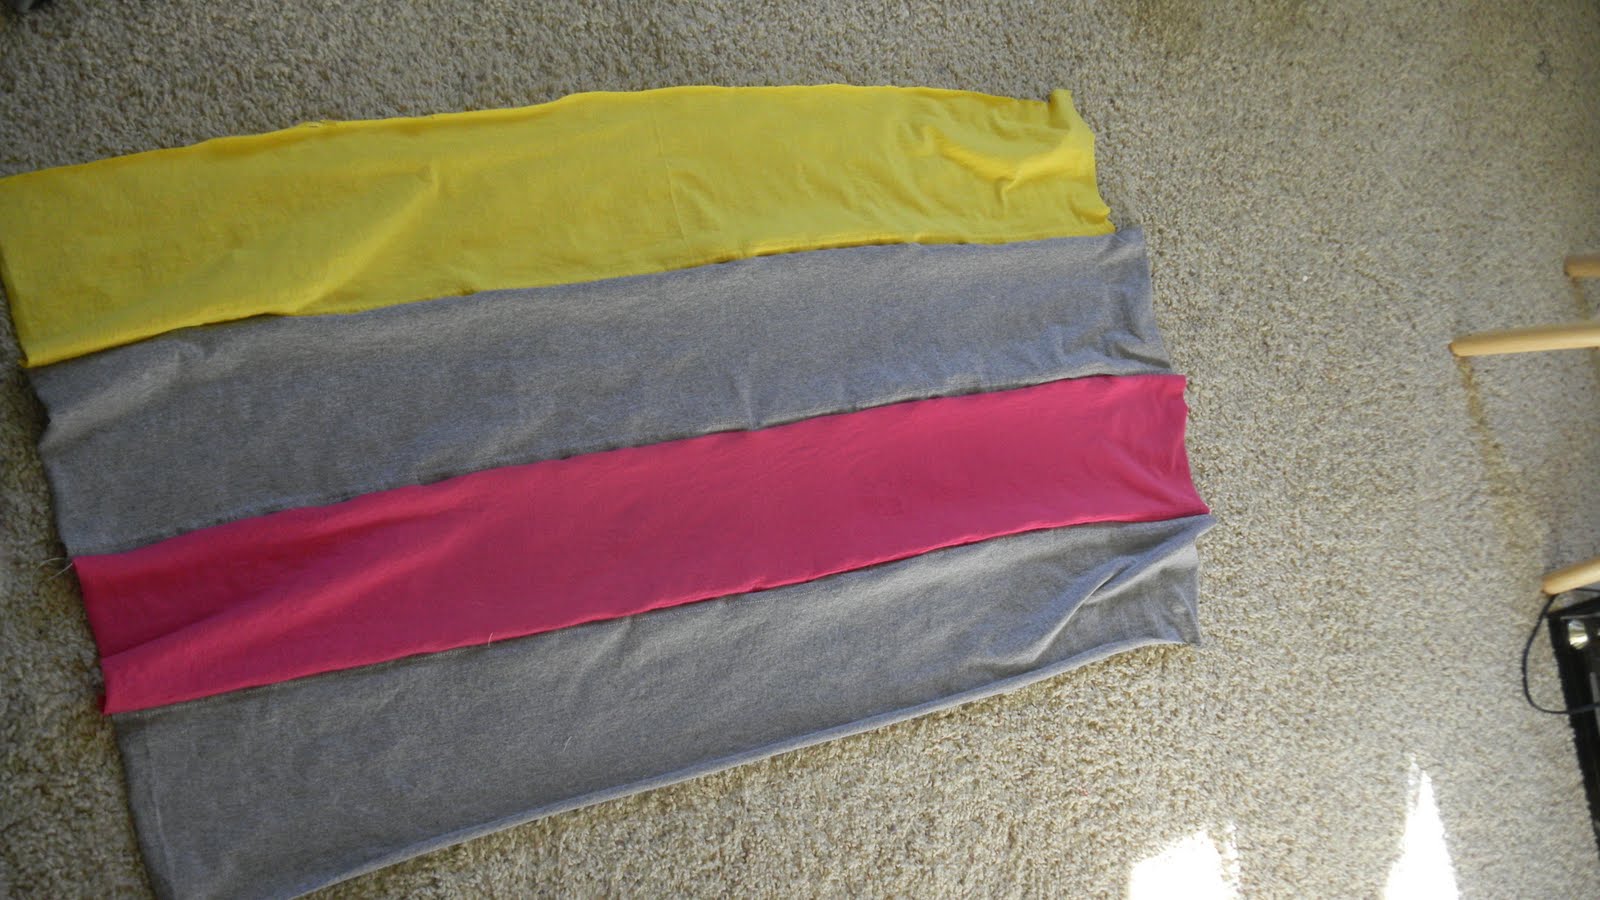
7) Rainbow Crochet Vest


OK, this one might be a bit of a stretch, but I'm including it anyway. If the fourth Doctor (Tom Baker) had been a woman, I believe this is what she would have chosen instead of that massive scarf...or even if the sixth Doctor (Colin Baker) had been a women. Anyway, I feel that this vest captures the spirit of the Doctor during his most colorful incarnations.


8) Brown Jacket


Another stretch, but this cheap brown jacket definitely says "David Tennant" to me. The color, the weight, the split up the middle; it's a girly version of Ten's favorite brown duster and wearing it makes me want to go gallivanting off shouting "Allons y!"

Saturday, August 27, 2011

Favorite Gadgets


I'm a gadget type of gal. If it plugs in and lights up, I want it. If it stores or uploads, I need it. If it plays music or video, I already have it. So, here are my favorite gadgets that I have acquired in 2011:


1) Magic Wand portable scanner
 I should have bought stock in this company. Since finding it while checking out from Office Depot and buying it on a whim (half thinking it was too good to be true), I have convinced several of my friends and family to buy one as well. It's a PORTABLE SCANNER, people! Push the button, roll over whatever you want to scan, and it's saved as a jpeg to a memory card. The resolution is great, possibly even better than my HP desktop scanner. This will scan any flat surface. I've even used it to scan the arm of a student who decided that drawing a "tattoo" on his arm was a better use of his time than Algebra. Use it to scan walls, floors, tables, blankets, binders, whatever you want! And the best part? It only cost $99.

2) iPad
What can I say? It's a larger version of my iPhone, to which I already have a severe addiction. My love affair with this device began when I learned I could access my district grade book on it and enter scores. As a teacher, this is a miracle! I can now walk around the room and enter grades on the fly that will immediately be applied to students' permanent grades. No more manual recording and then entering them on the computer at home. This is going increase my productivity by 1,000,000%. I said "I Do" to the iPad when I learned how to use it with Apple TV. The latest version of iOS enables a feature called AirPlay. AirPlay allows you to stream music and video from any iOS device to the nearest AppleTV completely wire free. For me, this means that my favorite DVDs won't become scratched and worn from use because I can play them digitally from my iPad; "Dawn of the Dead" and "Rocky Horror" can rest safely in their cases, now. 
Cost: $599 {but mine was a hand-me-down from hubby}

3) Apple TV
AirPlay is what turned me on to AppleTV, and I would have been happy if that was all AppleTV did. However, AppleTV does more than just play the audio and video files from my iPad and iPhone wirelessly. AppleTV also connects wireless to the iTunes library on the computer of your choice. Just connect with the Apple ID of your chosen library (connect wirelessly on your wifi network) and all your music, movies, and TV shows are now on your TV. No more hunching over my laptop to watch my shows! Furthermore, AppleTV also offers all of the video amenities of the iTunes store; you can both rent and buy movies that are available through iTunes. AppleTV also lets you connect to YouTube and view videos on your full sized TV. 
Cost: $99

4) Mac Mini
After a month of enjoying the bliss of AppleTV, my husband and I began to get greedy. Why must my laptop be on and dedicated to iTuned whenever I use AppleTV? What if the movie I want to watch is on hubby's computer and not mine? What if I want to do other activities on my laptop WHILE I'm watching AppleTV? Well, the solution to this seemed obvious: get a third Mac that will always be on and will be dedicated to storing all of our movies and TV shows. Unfortunately, we didn't have the kind of finances to purchase a shiny new iMac. So, we opted for the next best thing: a Mac Mini. A Mac Mini is just the hard drive of a Mac (Think a Mac, minus the screen). A Mac Mini is significantly less that a new iMac and all you need is a screen to plug it into. So, we bought a Mac Mini and plugged it into our TV upstairs (a lovely 42 inch Vizio). This effectively turned our bedroom TV into a giant Mac, and it is GLORIOUS. Not only does this supplement our AppleTV needs, but this also gives us internet access in our bedroom without having to cart a laptop up and downstairs.
Cost: $599

5) Heated eye-lash curler
My eyelashes are Japanese, e.g., they point down. So even though they aren't thin, per se, they aren't very visible because they aren't being contrasted with my eyelids. Traditional eyelash curlers pinch and have to be used before the application of mascara (lest your eyelashes stick to the mechanism and rip off). This heated eyelash curler by Japonesque uses a small heated coil to put your eyelashes in place. It's used after the application of mascara and works especially well with water proof mascaras. Water proof mascaras dry more quickly and contain wax. Reheating this formula during curling results in a more dynamic and stable curl that lasts longer. It also takes up a whole lot LESS space in storage! Runs on one AAA battery.
Cost: $19.99

6) MoTevo In-Dash Navigation/Entertainment System
I didn't blog or FaceBook about it, but I got a new car last April from my extremely generous Grandparents, who decided that they didn't need two cars anymore {which made me a little sad}. So, for my birthday, hubby had this system installed for me. I love it. I have my GPS always ready to go when I get lost and I don't have to fiddle with charging it and turning it on. There is an iPod connector, but I can also play my phone wirelessly through the stereo vis Bluetooth. It also has a Bluetooth phone connection for calls. If this thing could talk to me and give me advice, I would have to rename my car KITT.
Cost: $600


7) Soda Stream Soda Machine
I could tell you about how "green" I'm being by making my own soda, in reusable bottles, and about how much more economical it is to make generic soda instead of buying name brands...but in all honesty, I just think this thing is way cool. It's basically a big CO2 gun that shoots CO2 into water. I'll tell you one thing it's really good for: cravings. Sometimes I get these cravings for orange or grape soda, but I don't want to commit to a whole liter or a six pack. With the soda stream, I can make a bottle of whatever I'm craving and not feel guilty if I pour half of it down the drain because I've still got  a ton of syrup left. Not to mention the potential to experiment with new flavors and mixes. Caramel Soda anyone?

No Ifs, No Buts, Nothin' but the Coconut!

I have to thank my dear friend Adrienne for her post on coconut oil. Since reading it, I have become absolutely obsessed with it! Adrienne has lots of great uses for coconut oil (which I won't bother repeating here; you'll have to read her post!), many of which I have adopted. Here are the purposes I have for the sweet smelling miracle oil!

1) Deep Conditioner for Hair: My hair feels amazing after soaking it in coconut oil for an hour or two! I use the same method as Adrienne, but instead of wrapping it in a towel, I wrap it in in plastic wrap. It feels kind of weird, but it creates this great sauna effect. I also apply the oil to dry hair so I absorb the maximum amount of oil into the hair.

2) Skin Moisturizer/Rash Cure: I used to use baby oil with aloe vera as an oil moisturizer and was moderately satisfied. Since learning about coconut oil, I have switched and become VERY satisfied! The coconut oil is much lighter and absorbs into my skin more quickly. This gives me a soft, non-greasy feel in a short amount of time (plus, I smell yummy!). Additionally, the coconut oil helps heal razor burn and rashes. I'm a person that likes to scratch and pick at scabs, ergo I often create breaks in my skin from scratching too much or too hard. This scratching is mostly an unconscious habit, and I often discover these ugly patches of tiny scabs when I wake up in the morning. Slapping a thin layer of coconut oil on these spots will help heal them in one to two days while eliminating redness and irritation.

3) Leave-In Treatment/Protectant: I use a coconut anti-breakage serum already, but when my ends seem especially dry, I like smooth in about a drop of coconut oil. This also helps protect my hair when I use heat tools and leaves my hair shiny and non-frizzy.


What I love most about coconut oil is that it's a food. If I get it in my mouth, it's not going to kill me. In fact, it's actually good for me! It's comforting to know that if I don't want to rub excess oil from my hands into my skin, I can just lick it off (okay, I know that's a little gross...but it's true!). And how great is it that I can use this stuff on both my hair and skin? Not having to wash product off of my hands is one step that I will NOT be missing! And you can't beat the smell; it's fresh and light and relaxing.

As comprehensive as Adrienne's post is, there are some minor adjustments I would like to make:
Where to Get It: I got my initial tub of coconut oil at Vitamin World for $12 (It was an impulse buy because I was at the mall). However, I later found a large jar of coconut oil at Fresh and Easy for $6.99 (yay!). Tubs can also be found at Sprouts, as mentioned in Adrienne's post. I was unable to find any at my Wal-Mart, here in California.

How to Store It: Coconut oil seems to commonly come in either large tubs or jars. This is a great plus since an equivalent size of hair or skin product would be much more costly. However, storage in a jar can become problematic if the oil liquifies. To remedy this, I transferred the liquid coconut oil into a spouted bottle. Now, i can regulate the amount of oil I use while it's in liquid form but still squeeze it out when it solidifies. Storing in in a clear bottle also provides me with a unique temperature gage for my bathroom (which has a temperature of about 78 to 80 degrees lately).

Again, Thank You Adrienne for introducing me to the wonderful world of coconut oil. My hair and skin are eternally grateful!

Friday, August 12, 2011

BlogLovin

<a href="http://www.bloglovin.com/blog/2159220/serendipitous-disaster?claim=p3pz94fu4ph">Follow my blog with Bloglovin</a>
Follow Me With BlogLovin!

Thursday, August 11, 2011

Out With The New and In With The Blue!

I kind of suck at blogging about my crafts. I get and idea and it turns into an itch and I have to finish the idea right then and there. Halfway through, when I'm thinking to myself how great this will look on the blog, I realize that I didn't take any pictures of the the "before" state of my project. :( ::sadness::
       Such sadness occurred today when I got home and half way through this brilliant idea that hit me while I was browsing the jewelery (costume jewelery) section of Target today. I found this lovely brass and "diamond" necklace on sale for $5. I liked the sparkly pendant, but the whiteness of it was just so blah. Lightening struck and the disappointment lifted as it occurred to me that I could simply PAINT the plain white crystals!
And that's what I did. I agonized over WHICH color to paint them (green, blue, multicolored...) and then finally settled on a deep metallic blue.

I've done this before, you see. When I was in middle school, I had a set of those cheap plastic gems from Disneyland. I used them for various crafts and eventually ended up with only boring clear ones...but I wanted a BLUE one!...for a trivial and meaningless project. I grabbed my nearest bottle of blue nail polish and slapped a coat on my little plastic jewel. It was shiny and blue and looked perfect! This moment stayed with me all these years and came racing to the front of my brain while standing in Target. You see, nail polish is ideal for jewelery painting because it often comes in metallic or translucent colors.
     If you're going to try this at home (which I highly recommend you do!), you obviously shouldn't use matte color nail polishes (unless that's the look you're going for). The best part about all of this? Once you get tired of the color, simply wipe down your jewelery with some acetone and slap on a new color!
Happy crafting!

I Always Get What I Want

I was too lazy to drag out the tripod...
   
        This summer I decided that my must have item was a maxi dress. It took me a while to warm up to them and see them as something other than pregnancy garb. No offense to you, Jennie (my fab sister in law) and it certainly wasn't you who gave me the idea that maxi dresses are only for preggos. There's something about that empire waist and the long skirt...it just looks like something that would be perfect to wear while cooking a bun in the oven.
       Former beliefs and ideas set aside, I still wanted a maxi dress. Earlier this year, I found a lovely maxi dress at Forever 21. It was cheap. It was sooooo comfortable. It looked great on me. So why did I put it back? I haven't a clue because I haven't been able to stop thinking about it ever since. I'd show you a picture of it, but I can't find one for the life of me. All I have is the memory of the perfect maxi dress to comfort me.
       Well, I couldn't take it anymore. I needed that dress. So I did what any good, stubborn, girl would do: I made it. And here's how:


First, I started out with a sketch of what I wanted. This is similar to what the dress at Forever 21 looked like, but I altered it to better fit my taste and my sewing abilities. I also made a swatch of diagonally striped fabric to make sure that the technique I had in mind would actually achieve the effect that I wanted.


Next, it was time to pick out my fabric and get to work! I'm lazy and the summer time just makes it worse. I didn't want the hassle of looking for a knit fabric (which I already knew what going to be a pain to work with) in four different colors that were all the same weight. What's the easiest way to get a bunch of cotton knit fabric in a multitude of colors?
 T-Shirts!
I picked up seven adult XL t-shirts in the colors that I thought I would need, including two black shirts that are not pictured. I chose XL for the sheer volume of fabric. Each shirt was easily two yards of fabric and they only cost $2 each. Sooooo much cheaper than buying knit fabric off the bolt!
      My plan was simple: Cut each shirt into bands of my desired width, sew them together, then lay out and cut the stripes to the shape needed for the dress. The best laid plans result in the worst disasters...

 I cut each shirt into two strips, each about eight inches wide. I used my very professional looking ruler to do so. I left the hemlines of the shirts as they were so I wouldn't have to work with a raw edge on every strip (again, because I'm lazy).


 Cutting the fabric was the easy part of this project. It was deceptively easy.
My next step was to sew the strips together in the color order that I wanted. Enter Bertha: the toughest machine I know.


She makes me so happy!


Sewing knit fabrics is tough. It likes to stretch, so when it goes in the machine (which tightens and pulls it) the stitches don't actually secure the fabric exactly where you want it to. Going fast is not an option or the fabric is just going to be destroyed, so I had to use the slow setting for an exceedingly BORING task. This is halfway through the first panel. Sewing all of these little stripes together took somewhere between 2 and 4 hours...I took a lot of breaks so this is a very poor estimate.

After finally finishing the front and back panels, it was time to construct the shape of the dress. I thought this was going to be a piece of cake: just throw it on the dress form, pin it in place, sew it, and cut of the excess from the interior. :D


HA HA HA HA HA HA HA HA HA!!!!!
       I started draping the fabric and a day and half later I finally had a shape that somewhat resembled a dress. In order to create that shape, though, I had to add fabric all over the place. I had to split stripes and add some black panels just to get the gaps to close and the hem to even out.
       I finally got everything to the right length and shape after MUCH blood, sweat, tears, and cursing. I'm very happy with the outcome. I like how the color blocking gets a little chaotic near the bottom of the dress.
       For the top, I used a swimsuit as a model and fashioned it out of two layers of t-shirt scraps. I ran out of pink and gray, so I decided that using blue and black would provide a high contrast and give off the illusion that I did it on purpose. :)


   My original sketch had a crossed strap back, but that didn't provide enough support and the back of the dress began to sag. So , I just added another cross with the length that was left over.


       Moral of the story: I always get what I want.
=D